| 59.10. Setting the Views | ||
|---|---|---|
 | Chapter 59. OPC panel - End user manual |  |
| 59.10. Setting the Views | ||
|---|---|---|
| | Chapter 59. OPC panel - End user manual | |
To set the views, press this button ![]() .
.
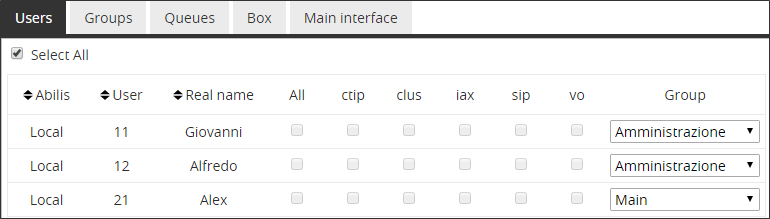
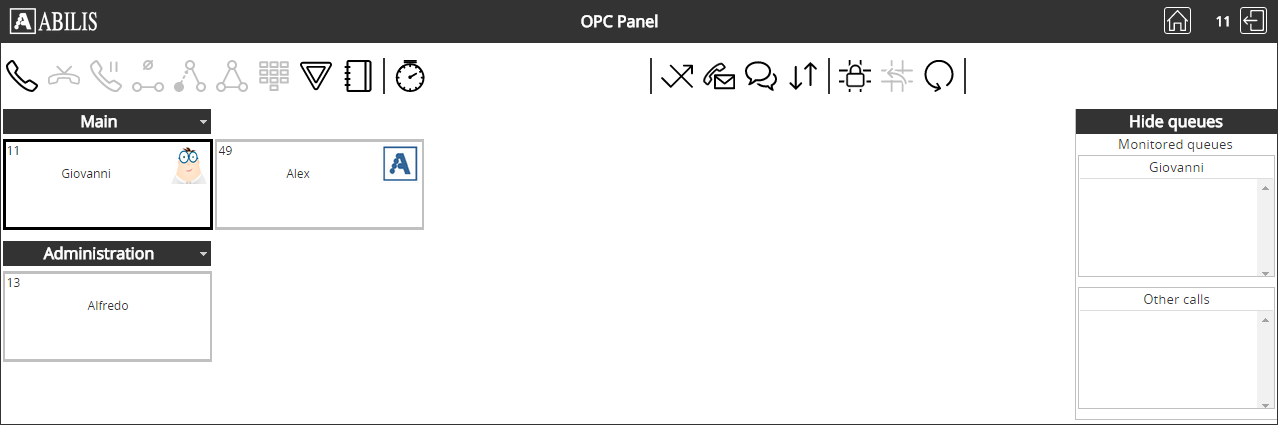
Users and infos displayed in the operator’s panel (OPC) can be changed by means of the User’s tab.
It is possible to select all the users and all their interfaces, or just a selected subset of them. When a user has more interfaces, every interface corresponds to a tab of the user box.
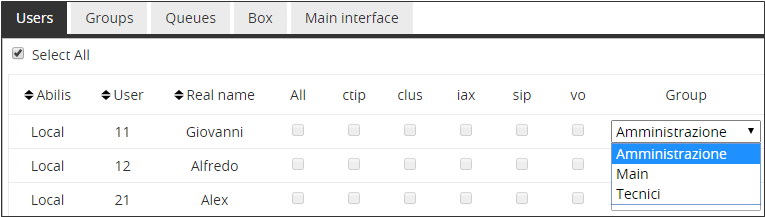
It is also possible to choose which group the user belongs to.
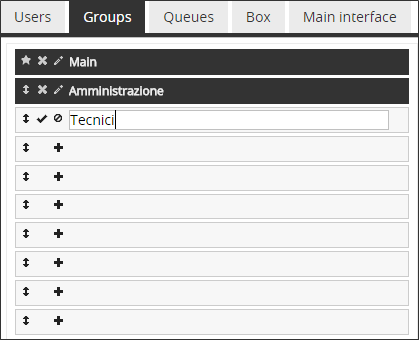
User boxes can be divided into different groups.
Open the Groups tab. To create a group, click on +, write the name of the new group and confirm the name clicking on ✓. To delete a group, click on x.
You can change the order of a group by dragging and dropping it into the new place.
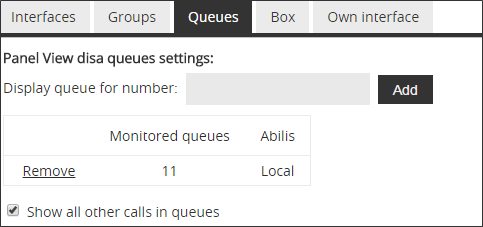
In the Queues tab, define which queues are to be displayed on the right side of the OPC. Please define a queue for each called number which is to be monitored.
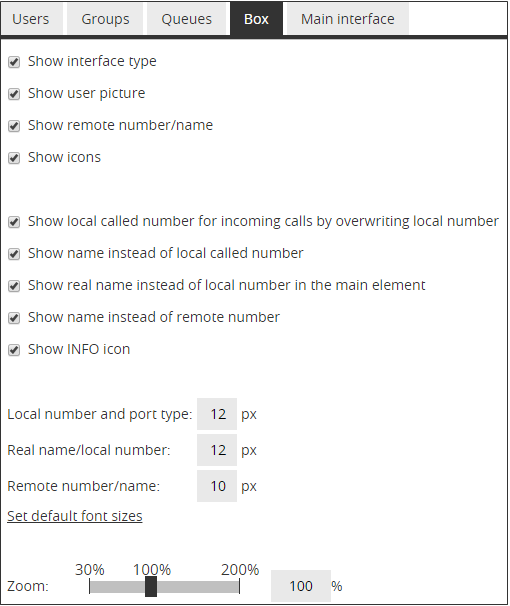
The Box tab serves to change the size of the user boxes and the size of the text. It permits also to select which information is to be displayed within the user boxes:
Before and after checking "Show interface type":
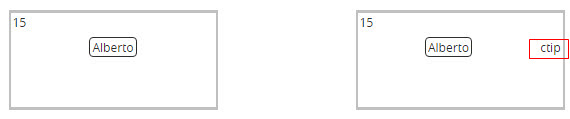
![[Note]](../images/note.png) | Note |
|---|---|
The possible types of interfaces are: CTIP, VO, SIP, IAX. |
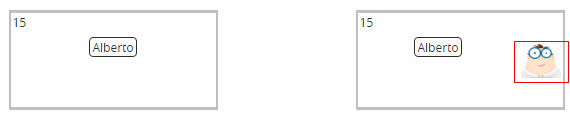
Before and after checking "Show user picture":
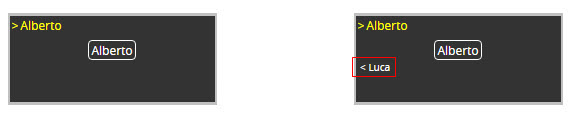
Before and after checking "Show remote number/name":
Before and after checking "Show icons":
| Note |
|---|---|
To see the possible icons, please refer to: Section 59.1.4, “User box”. |
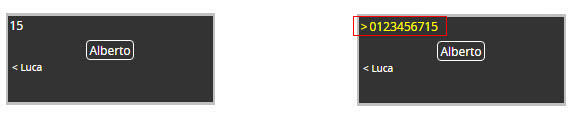
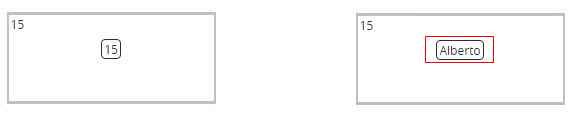
Before and after checking "Show local called number for incoming calls by overwriting local number":
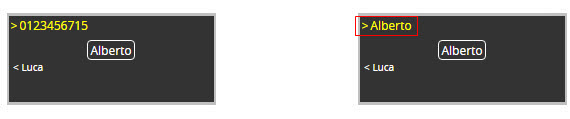
Before and after checking "Show name instead of local called number":
| Note |
|---|---|
The translation number->name only works if the name is registered in the ABILIS address-book and if the option "Show local called number for incoming calls by overwriting local number” is active. |
Before and after checking "Show real name instead of local number in the main element":
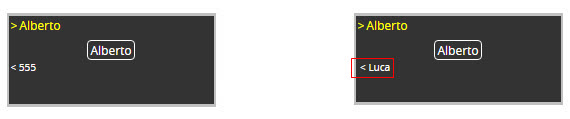
Before and after checking "Show name instead of remote number":
| Note |
|---|---|
The name must be registered in the ABILIS address book. |
Before and after checking "Show INFO icon":
| Note |
|---|---|
Also must be checked "Show icons”. The INFO icon displays detailed information about the status and the options currently active for the user. |
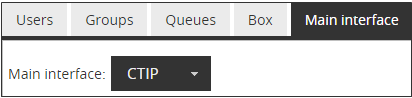
With the OPC panel, you can manage only one interface at a time. The Main interface tab contains a drop-down menu that lets you choose which interface is being used.
You can change the position of each user box or the user's group
simply dragging and dropping them, but first you have to unlock the user
box's position ![]() . When you
have finished moving the boxes, lock their position
. When you
have finished moving the boxes, lock their position ![]() .
.
If you want to undo the block's movements, you can click on the
undo button ![]() . If you want to
completely reset the positions, use the reset button
. If you want to
completely reset the positions, use the reset button ![]() . This opens a
pop-up window asking how you prefer to relocate the user boxes.
. This opens a
pop-up window asking how you prefer to relocate the user boxes.
| |  | |
| 59.9. The Chat |  | 59.11. Phone keycodes |